
Create a New Post
The theme allows you to create and manage blog posts seamlessly using the WordPress editor. Follow the steps below to add a new post to your website.
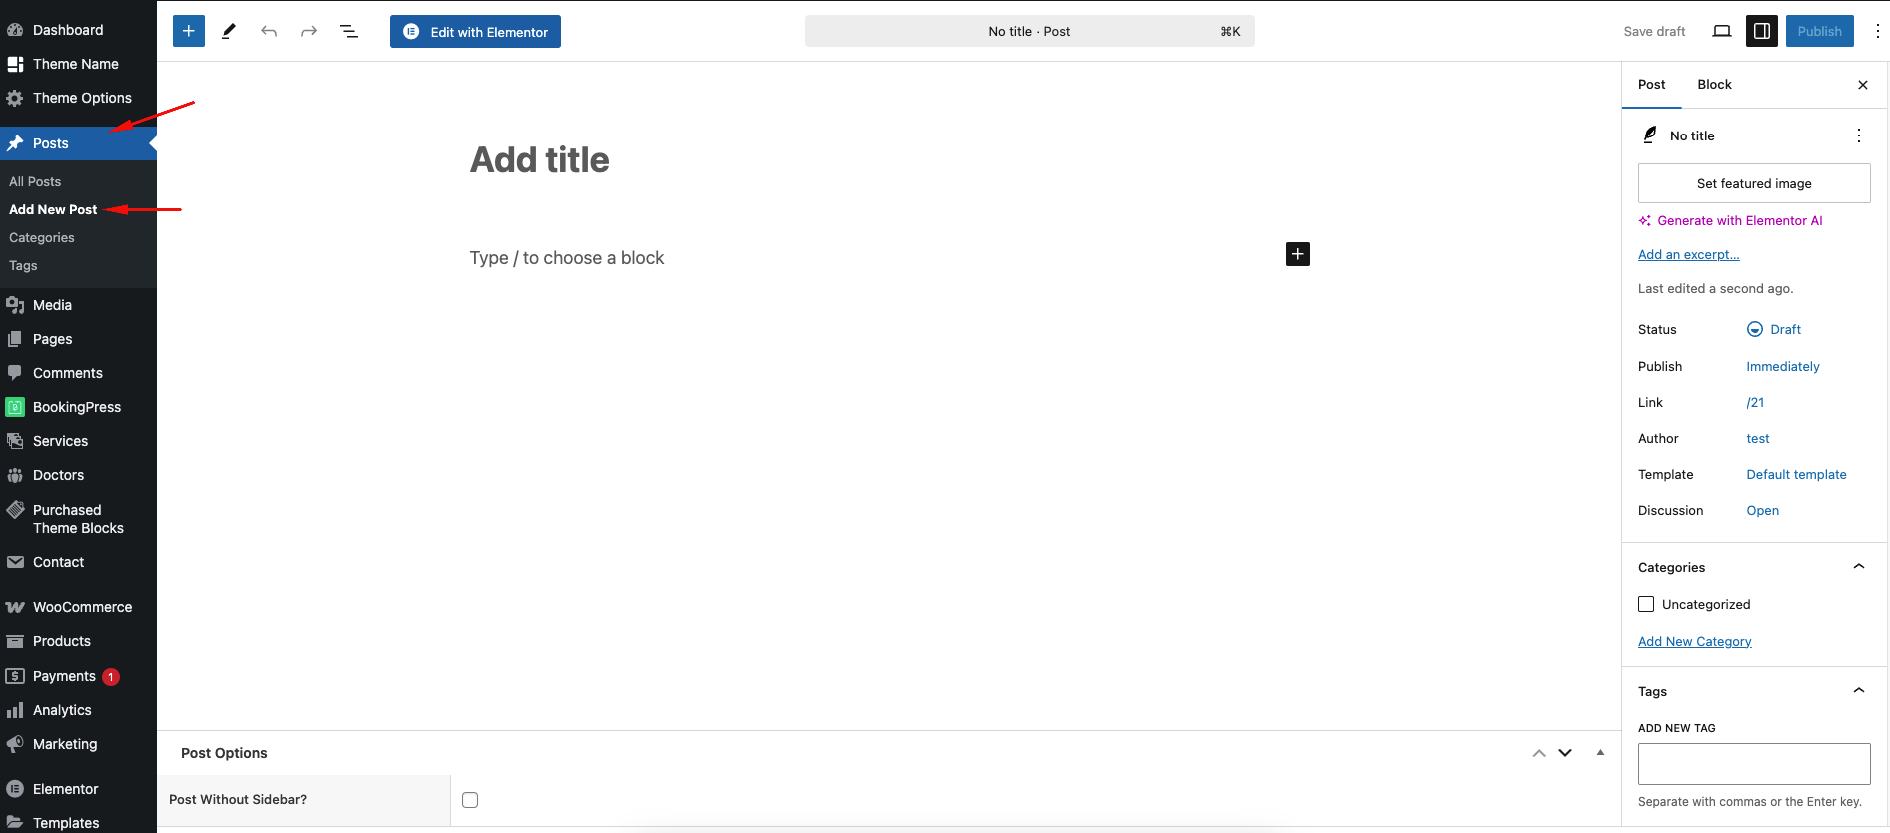
1. Adding a New Post
- Navigate to Dashboard → Posts → Add New.
- Enter a title for your post.
- Write your content in the WordPress editor.
- Set featured image.
- Assign the post to a category and add relevant tags from the right sidebar.
2. Configuring Post Options
The theme provides additional customization options for single blog posts:
- Single Blog Options
- Show/Hide Post Banner – Enable or disable the banner at the top of the post.
- Navbar Style – Choose between different navigation bar styles for the post.
- + More
3. Publishing the Post
- Review your content and formatting.
- Click Preview to check how the post looks before publishing.
- Click Publish to make the post live.
4. Displaying Blog Posts on Your Website
If you want to display your blog posts on a specific page:
- Go to Dashboard → Settings → Reading.
- Under Your homepage displays, select A static page.
- Choose a dedicated page for your blog posts under the Posts Page option.
- Click Save Changes.
Final Notes
- The theme alsoahve additional custom blog settings under Theme Options → Blog Settings.
- Always optimize your post content for SEO by adding proper headings, meta descriptions, and internal links.