
How to Use Custom Fonts
If you want to add a custom font to your website, follow this step-by-step guide using the Custom Fonts Plugin.
1. Install and Activate the Custom Fonts Plugin
- Go to Dashboard → Plugins → Add New.
- Search for Custom Fonts or download it from here:
🔗 Custom Fonts Plugin - Click Install Now, then Activate the plugin.
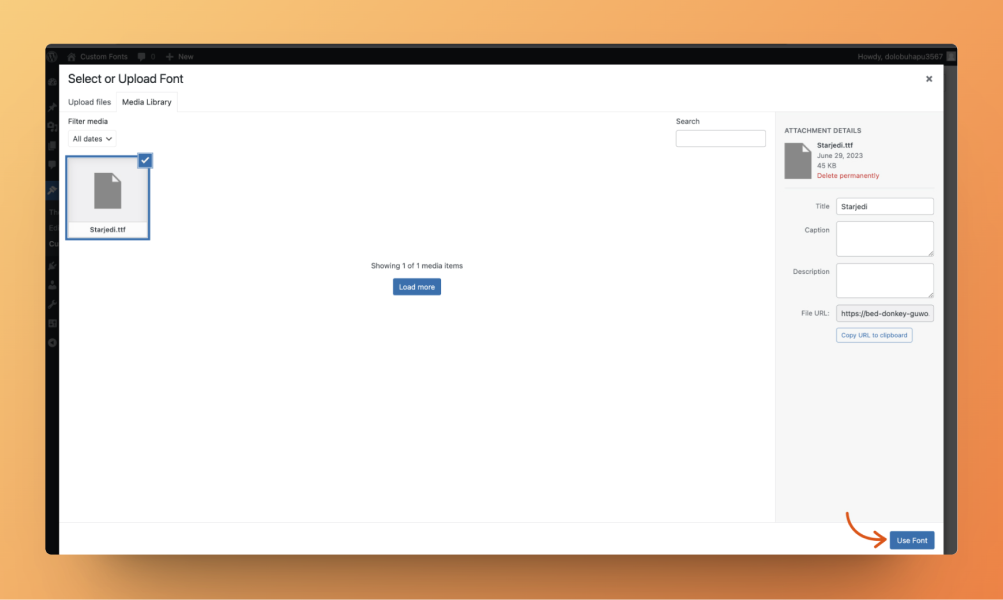
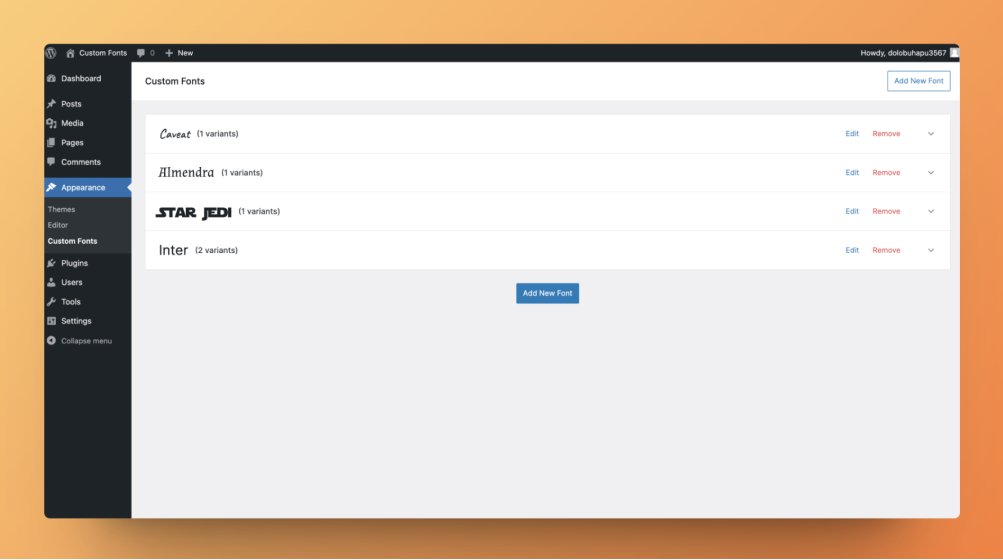
2. Upload Your Custom Font
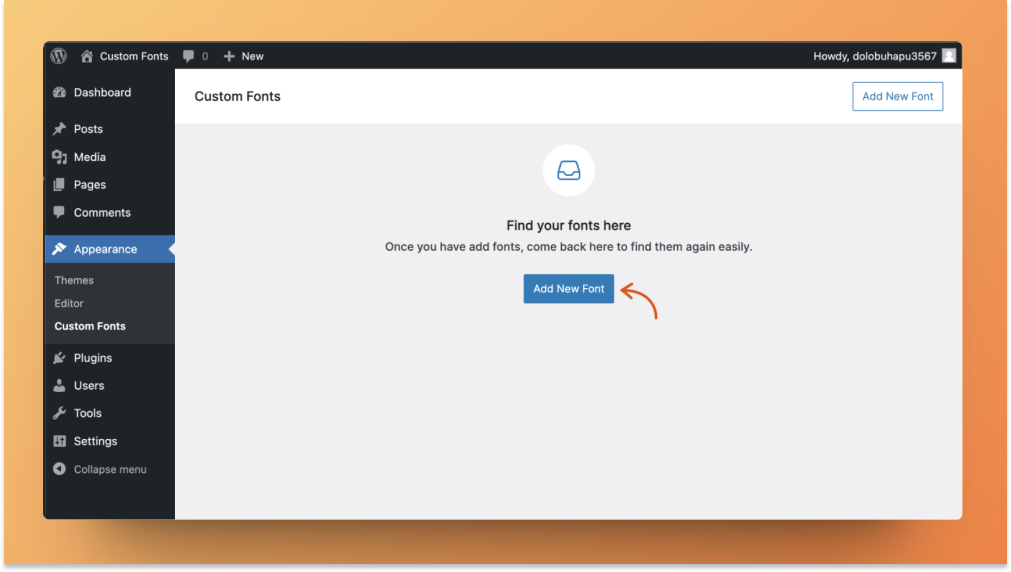
- Navigate to Appearance → Custom Fonts.
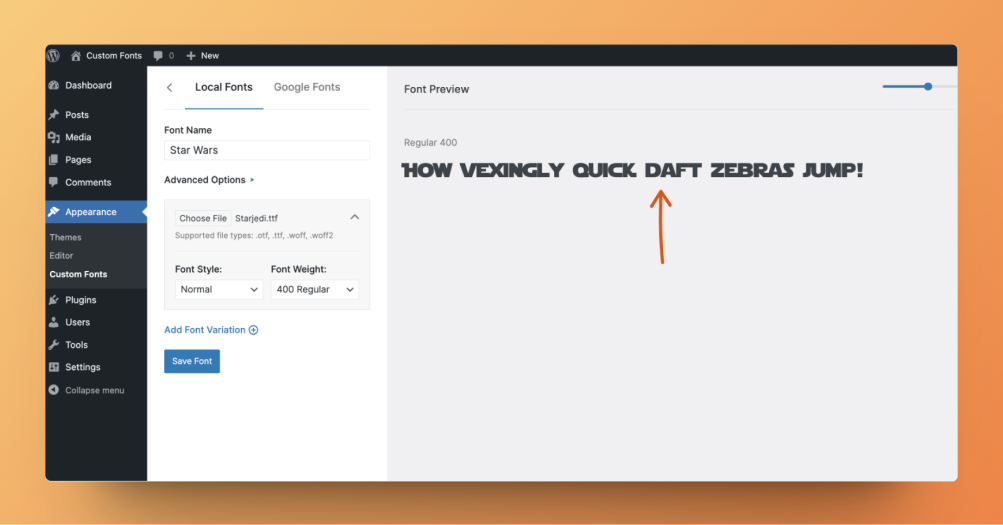
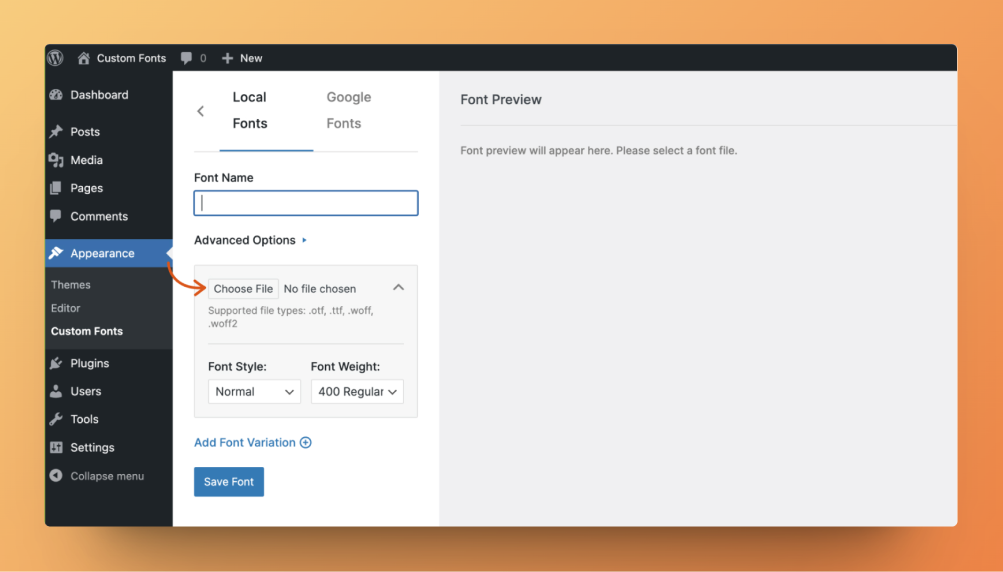
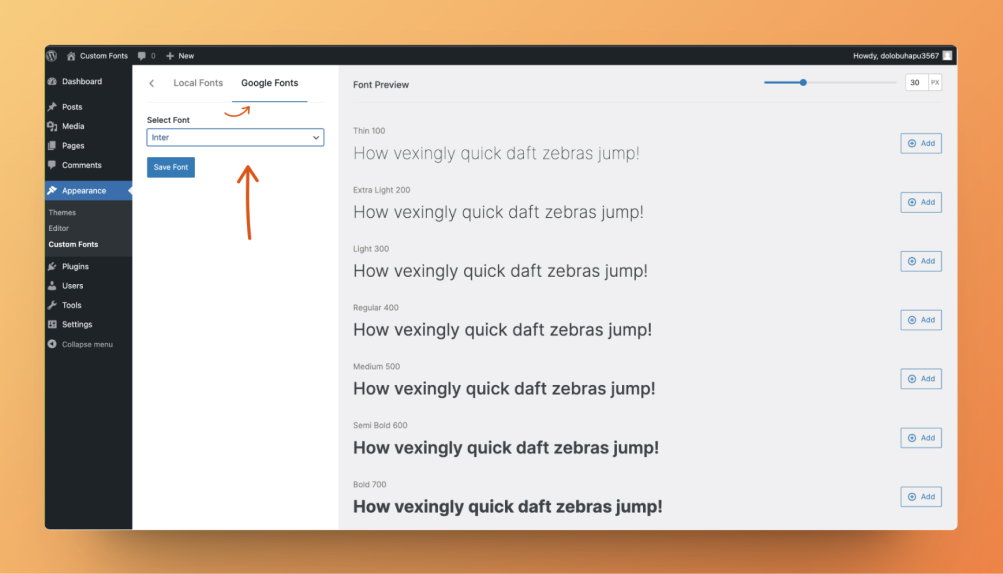
- Click Upload Font and choose your font file (.woff, .woff2, .ttf, or .otf).
- Click Save Changes to store the font.
3. Apply the Custom Font via Theme Options
- Go to Dashboard → Theme Options → Advanced.
- Locate the Custom CSS section.
- Paste the following CSS code:
body {
    font-family: 'Your Custom Font Name' !important;
}
h1, h2, h3, h4, h5, h6 {
    font-family: 'Your Custom Font Name' !important;
}
- Replace
'Your Custom Font Name'with the exact name of the uploaded font. - Click Save Changes to apply the new font.
Final Notes
✅ Using the Custom Fonts Plugin ensures easy font management.
✅ Make sure to enter the correct font name in the CSS.
✅ Clear cache if the changes don’t reflect immediately.
By following these steps, you can successfully upload and apply custom fonts to yoursite , enhancing your website’s typography and design. 🚀