Theme Installation & Setup – Before Plugin
There are two methods to upload a theme to a WordPress site: via the Admin Panel and through FTP. The most recommended approach is using the Admin Panel, as it’s simpler and more user-friendly. However, in some cases, file size limitations may prevent direct uploads. For this reason, this guide covers both methods.
Note: Unzip the downloaded package from ThemeForest, locate the “files” folder, and use the .zip file inside it for installation via WordPress or FTP.
Method 1: Installing the Theme via WordPress
Step 1: Log in to your WordPress Admin Panel.
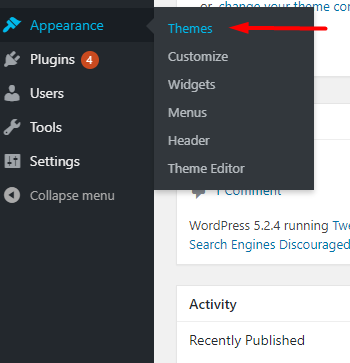
Step 2: Navigate to Appearance > Themes
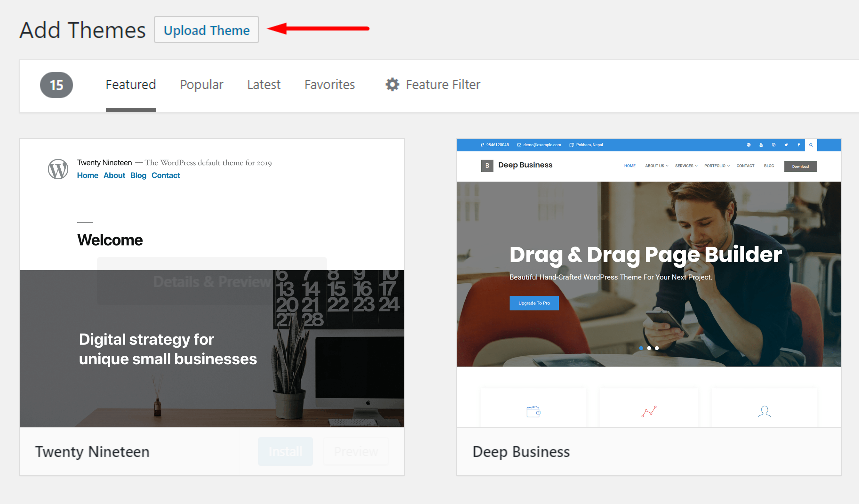
Step 3: Click the Add New button, then select Upload Theme.
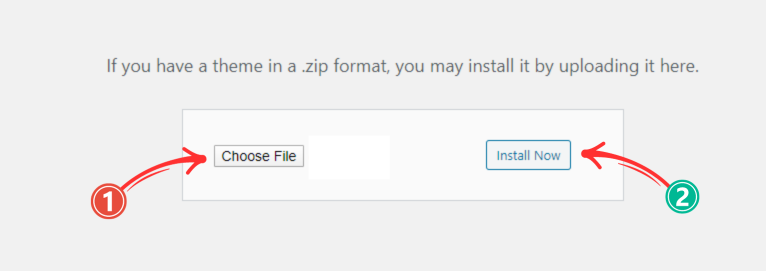
Step 4: Click Choose File, select .zip file, and hit Install Now.
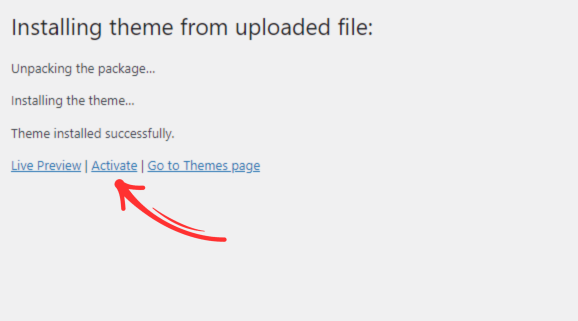
Step 5: Once the installation is complete, click Activate, and you will be redirected to the Themes page with activated.
Theme is now successfully installed and ready to use!
Method 2: Installing the Theme via FTP
- Download & Extract – Download the theme .zip file and extract it on your computer. You should see a folder containing the theme files.
- Connect to Your Server – Use an FTP client (like FileZilla) to connect to your WordPress site.
- Navigate to the Themes Directory – Go to
/wp-content/themes/in your WordPress installation directory. - Upload the Theme – Upload the extracted theme folder to the themes directory.
- Activate the Theme – Log in to your WordPress Admin Panel, go to Appearance → Themes, find the uploaded theme, and click Activate.
Theme is now successfully installed via FTP!
Plugin Installation & Configuration
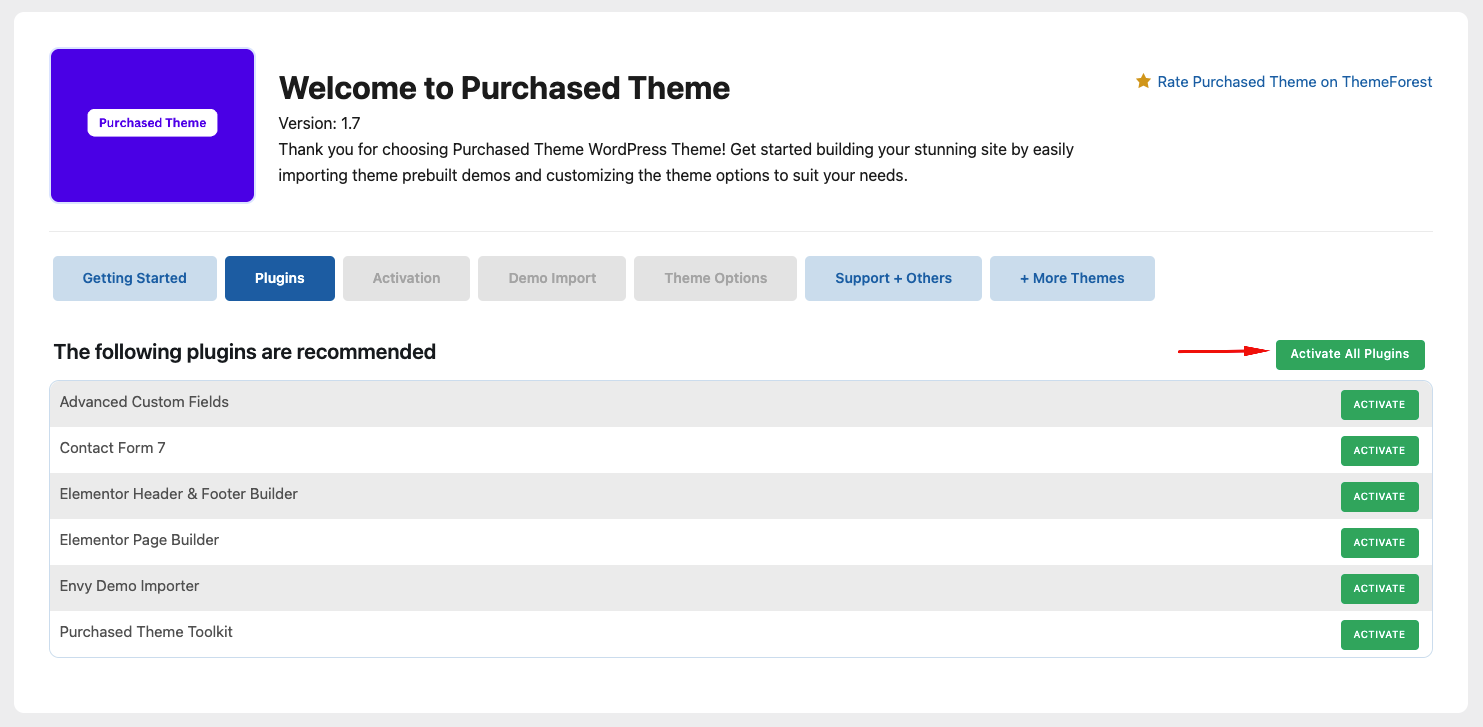
After activating , it will redirect to Theme Welcome page.
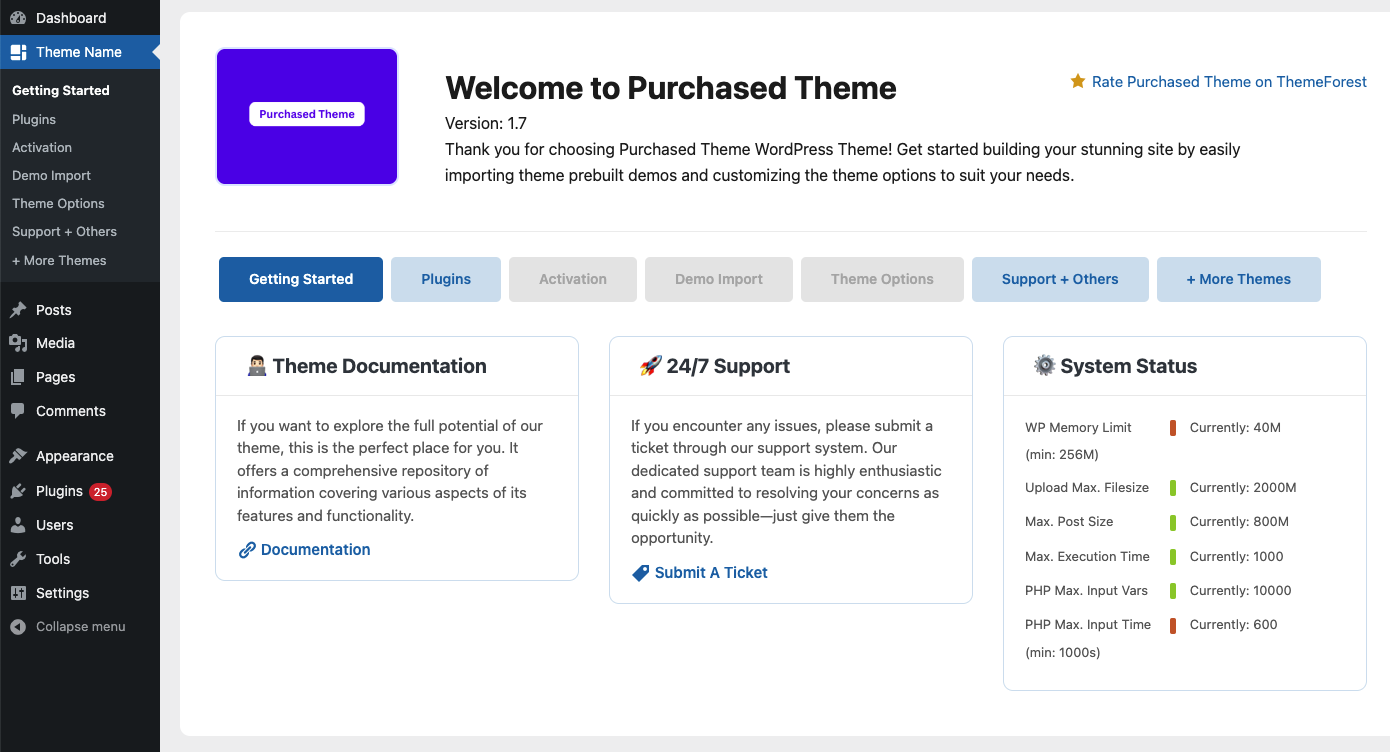
Next, click the “Plugins” button, which will take you to the Install Required & Recommended Plugins page.
Click “Activate All Plugins”, and it will automatically install and activate the required plugins.