
If you haven’t installed our demo content but want to add a contact form to your website, we recommend using the popular Contact Form 7 plugin.
This plugin is included as a recommended plugin with our theme. Once you install and activate it, a basic contact form will be automatically created. You can place it on your page using Elementor.
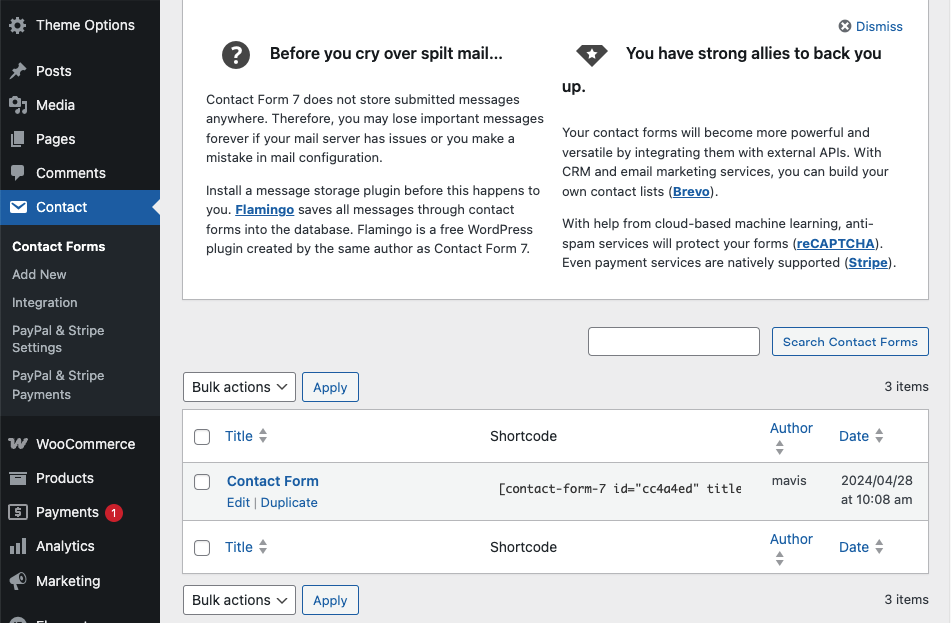
Alternatively, you can create a custom form by navigating to:
Dashboard → Contact → Add New
For detailed instructions, refer to the Contact Form 7 Documentation.
<div class="faq-contact-form">
    <div id="contactForm">
        <div class="row">
            <div class="col-lg-6 col-md-12">
                <div class="form-group">
                    [text* your-name class:form-control placeholder "Name"]
                </div>
            </div>

            <div class="col-lg-6 col-md-12">
                <div class="form-group">
                    [email* your-email class:form-control placeholder "Email"]
                </div>
            </div>

            <div class="col-lg-6 col-md-12">
                <div class="form-group">
                    [number* your-number class:form-control placeholder "Phone"]
                </div>
            </div>

            <div class="col-lg-6 col-md-12">
                <div class="form-group">
                    [text* your-subject class:form-control placeholder "Subject"]
                </div>
            </div>

            <div class="col-lg-12 col-md-12">
                <div class="form-group">
                    [textarea* your-message rows:6 class:form-control placeholder "Your Message"]
                </div>
            </div>
           <div class="col-lg-12 col-md-12">
               [acceptance  gdpr class:gdpr-term ] By checking this, you agree to our <a href="https://themes.hibootstrap.com/varn/terms-condition">Terms</a> and <a href="https://themes.hibootstrap.com/varn/privacy-policy">Privacy policy</a>.[/acceptance]
          </div>
            <div class="col-lg-12 col-md-12">
                <button type="submit" class="default-btn">Send Message <span></span></button>
            </div>
        </div>
    </div>
</div>